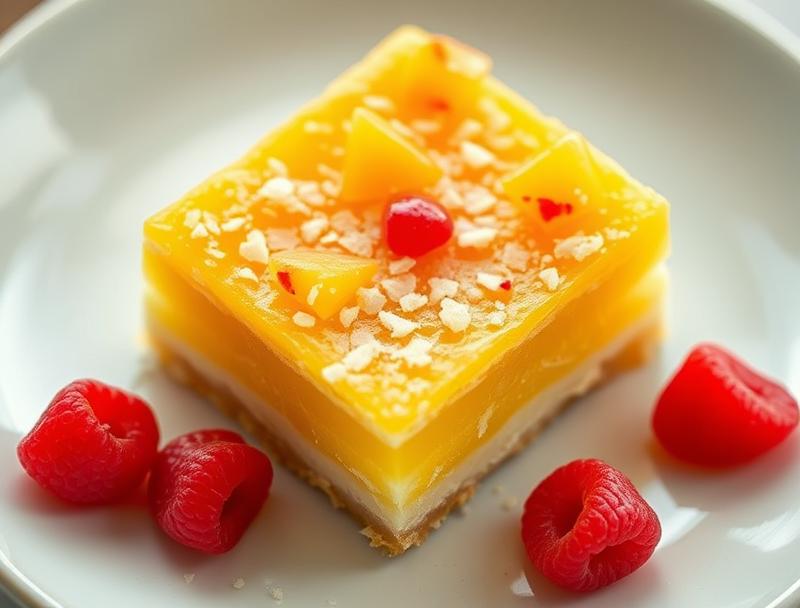
Pineapple Bliss Bars
Introduction
Imagine a dessert that combines the sweetness of pineapple, the crunch of a buttery crust, and the simplicity of a press-in pan bar. Welcome to the world of Pineapple Bliss Bars, a recipe that embodies ease, flavor, and creativity using everyday ingredients. These bars are perfect for warm weather gatherings, potlucks, or as a sweet treat any time of the year. With a short list of ingredients and straightforward instructions, you’ll be enjoying these tropical bars in no time.
Why This Works
- Flavor balance and ingredient accessibility: The combination of pineapple, coconut, and a hint of spice creates a well-balanced flavor profile that’s both familiar and exciting. Plus, the ingredients are easy to find in most grocery stores.
- Ease of preparation: The press-in crust and simple filling make this recipe a breeze to prepare, even for those who are new to baking.
- Impressive results with minimal effort: Despite the simplicity of the recipe, the end result is a dessert that looks and tastes like it came from a professional bakery.
Ingredients
- 1 1/2 cups all-purpose flour
- 1/2 cup granulated sugar
- 1/4 cup packed light brown sugar
- 1/2 cup unsalted butter, softened
- 1 cup crushed pineapple, drained
- 1 cup shredded coconut
- 1 teaspoon vanilla extract
- 1/4 teaspoon salt
- 1/4 teaspoon ground cinnamon
- 1/4 cup chopped pecans or walnuts (optional)
Instructions
- Step 1: Preheat your oven to 350°F (180°C). Line an 8-inch square baking pan with parchment paper or aluminum foil, leaving some overhang for easy removal.
- Step 2: In a medium bowl, whisk together the flour, granulated sugar, and brown sugar. Add the softened butter and mix until the mixture forms a crumbly dough. Press the dough evenly into the prepared baking pan.
- Step 3: Bake the crust for 20-25 minutes, or until it’s lightly golden brown. While the crust is baking, prepare the filling by mixing the crushed pineapple, shredded coconut, vanilla extract, salt, and cinnamon in a bowl.
- Step 4: Once the crust is ready, remove it from the oven and top it with the pineapple-coconut mixture. If using nuts, sprinkle them evenly over the top. Return the pan to the oven and bake for an additional 25-30 minutes, or until the filling is set and the top is lightly golden brown.
Handy Tips
- To ensure the crust doesn’t become too brown, cover the edges with foil or a pie shield for the last 10-15 minutes of baking.
- If you prefer a chewier bar, bake the filling for 20-22 minutes. For a firmer bar, bake for 25-30 minutes.
- Don’t overmix the crust or filling, as this can lead to a tough or dense bar.
Heat Control
To achieve the perfect texture, it’s essential to control the heat. Bake the crust and filling at 350°F (180°C), and keep an eye on the bars during the last 10-15 minutes of baking. If the top starts to brown too quickly, cover it with foil to prevent overbrowning.
Crunch Factor
The combination of a buttery crust, crunchy nuts (if using), and chewy pineapple filling creates a delightful texture contrast. To enhance the crunch factor, make sure to not overbake the crust, and consider adding a sprinkle of toasted coconut flakes or chopped nuts on top of the bars before baking.
Pro Kitchen Tricks
- To make the bars more visually appealing, arrange a few pieces of pineapple or a sprinkle of coconut on top of the filling before baking.
- For an extra crispy crust, bake it for an additional 2-3 minutes after pressing it into the pan. Keep an eye on it to prevent burning.
- Consider using different types of sugar, such as turbinado or Demerara, to add a hint of caramel flavor to the crust.
Storage Tips
- Store the cooled bars in an airtight container at room temperature for up to 3 days.
- For longer storage, wrap the bars individually in plastic wrap or aluminum foil and freeze for up to 2 months. Thaw at room temperature or reheat in the microwave.
- When transporting the bars, consider using a sturdy container or wrapping them individually to prevent breakage.
Gift Packaging Ideas
These bars are perfect for gift-giving, especially during the holiday season. Consider packaging them in a decorative tin or jar, or wrapping them individually in colorful paper or cellophane bags. Add a ribbon or a gift tag with a personal message to make it an extra special treat.
Flavor Variations
- Try using different types of fruit, such as peaches or apricots, for a unique flavor twist.
- Add a sprinkle of cinnamon or nutmeg to the crust for an extra warm spice flavor.
- Use coconut oil instead of butter for a dairy-free and vegan-friendly option.
Troubleshooting
- If the crust becomes too brown, cover the edges with foil or a pie shield to prevent overbrowning.
- If the filling is too runny, bake the bars for an additional 5-10 minutes or until the filling is set.
- If the bars are too dense, try adding a little more sugar or using a different type of flour.
FAQs
- Can I freeze the bars? Yes, you can freeze the bars for up to 2 months. Wrap them individually in plastic wrap or aluminum foil and thaw at room temperature or reheat in the microwave.
- Are the bars gluten-free? No, the bars contain wheat flour and are not gluten-free. However, you can try substituting the flour with a gluten-free alternative.
- Can I double the recipe? Yes, you can double the recipe to make a larger batch of bars. Just keep in mind that you may need to adjust the baking time slightly.
Conclusion
Pineapple Bliss Bars are a delicious and easy-to-make dessert that’s perfect for any occasion. With their buttery crust, chewy pineapple filling, and crunchy texture, they’re sure to become a favorite among family and friends. Don’t be afraid to experiment with different flavor variations and ingredients to make the recipe your own. Happy baking!