Strawberry Crunch Cheesecake Cones
Introduction
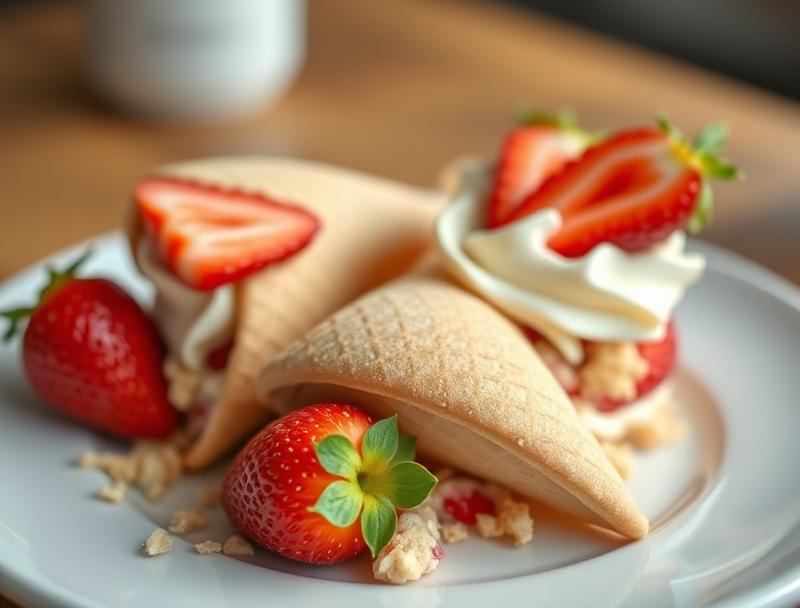
Imagine indulging in a sweet treat that combines the creamy richness of cheesecake, the freshness of strawberries, and the fun of eating from a crunchy cone. Strawberry Crunch Cheesecake Cones are not just a dessert, but an experience. They’re incredibly easy to make, requiring minimal ingredients that are likely already in your pantry, and they offer a burst of flavor and creativity that will impress both kids and adults alike. Whether you’re looking for a unique dessert to serve at a party, a special treat for a family gathering, or just a fun project to enjoy with the kids, these cheesecake cones are the perfect choice.
Why This Works
- The balance of flavors between the sweetness of the strawberries, the tanginess of the cheesecake, and the crunch of the cone creates a delightful taste experience that is both familiar and exciting.
- The preparation is surprisingly easy, involving simple steps that don’t require any special cooking skills, making it accessible to anyone looking to create something special.
- Despite the simplicity of the ingredients and the preparation process, the result is impressively elegant and creative, perfect for those looking to wow their guests without spending hours in the kitchen.
Ingredients
- 1 1/2 cups graham cracker crumbs
- 1/4 cup granulated sugar
- 6 tablespoons (3/4 stick) unsalted butter, melted
- 12 ounces cream cheese, softened
- 1/2 cup granulated sugar
- 2 large eggs
- 1 teaspoon vanilla extract
- 1 cup sour cream
- 1 cup hulled and sliced strawberries
- 1 cup crushed waffle cones or cookies for the “crunch” topping
- Whipped cream, for serving (optional)
Instructions
- Step 1: Prepare the Crust – Mix the graham cracker crumbs, sugar, and melted butter until well combined. Press into the bottom of a springform pan or individual serving cups to create the base of your cheesecakes.
- Step 2: Make the Cheesecake Batter – Beat the cream cheese until smooth, then add the granulated sugar, eggs one at a time, and vanilla extract, beating well after each addition. Stir in the sour cream until combined.
- Step 3: Bake the Cheesecakes – Pour the cheesecake batter over the prepared crust and bake in a preheated oven at 325°F for about 45-50 minutes for a large cheesecake or 20-25 minutes for individual cheesecakes, or until the edges are set and the centers are slightly jiggly.
- Step 4: Cool and Prepare the Topping – Allow the cheesecakes to cool completely. Meanwhile, mix the sliced strawberries with a bit of sugar to taste and let them sit for about 15 minutes to allow them to release their juice and become syrupy.
- Step 5: Assemble the Cones – Once the cheesecakes are cool, use a cookie scoop or spoon to portion them into waffle cones. Top each cone with a spoonful of the strawberry mixture and sprinkle with crushed waffle cones or cookies for the crunch factor.
Handy Tips
- For a more intense strawberry flavor, use strawberry jam or preserves as an additional topping.
- Experiment with different types of cookies or wafers for the crust and crunch topping to find your favorite combination.
- Consider using other fruits like blueberries, raspberries, or a mix of berries for a different twist on the recipe.
Heat Control
When baking the cheesecakes, it’s crucial to keep an eye on them to prevent overcooking. The ideal temperature is 325°F, and the baking time will depend on the size of your cheesecakes. Look for edges that are set and centers that are slightly jiggly. Avoid overbaking, as this can cause the cheesecakes to dry out.
Crunch Factor
The crunch factor in these cheesecake cones comes from the crushed waffle cones or cookies sprinkled on top. To achieve the perfect crunch, make sure to crush the cookies or cones just before serving to prevent them from becoming soggy. You can also experiment with other crunchy toppings like chopped nuts or candy pieces.
Pro Kitchen Tricks
- To ensure your cheesecakes release perfectly from the pan, make sure to grease the pan well before adding the crust and batter.
- For a smooth cheesecake, avoid overmixing the batter, especially after adding the eggs.
- Consider making the cheesecakes and strawberry topping ahead of time and assembling the cones just before serving for the freshest flavor and best texture.
Storage Tips
- Cheesecakes can be stored in the refrigerator for up to 5 days. Let them come to room temperature before serving for the best flavor.
- The strawberry topping can be made ahead and stored in the refrigerator for up to 24 hours.
- Assembled cones are best served immediately, but they can be stored in an airtight container in the refrigerator for a few hours if needed.
Gift Packaging Ideas
These cheesecake cones are a thoughtful and unique gift for any occasion. Consider packaging them in decorative cones or bags and tying them with a ribbon. You could also include a side of extra strawberry sauce or whipped cream for an added touch. For a more personalized gift, write a message on the cone with chocolate sauce or edible markers.
Flavor Variations
- Try using different extracts like almond or coconut to give your cheesecakes a unique flavor.
- Experiment with various fruits like peaches, bananas, or mango for a different twist on the strawberry topping.
- For a chocolate version, add cocoa powder to the cheesecake batter and top with chocolate shavings or chocolate sauce.
Troubleshooting
- If your cheesecakes crack, it might be due to overmixing the batter or sudden temperature changes. To prevent this, ensure your ingredients are at room temperature and mix the batter gently.
- If the strawberry topping is too runny, you can cook it down slightly to reduce the liquid and intensify the flavor.
- For cones that are too soggy, try baking the cheesecakes for a few more minutes to dry them out slightly, or use less strawberry topping.
FAQs
- Can I freeze the cheesecakes? Yes, cheesecakes can be frozen for up to 2 months. Thaw overnight in the refrigerator before serving.
- Is this recipe gluten-free? Depending on the type of cookies or wafers used for the crust and crunch topping, this recipe can be adapted to be gluten-free. Ensure that all ingredients used are gluten-free.
- Can I double the recipe? Yes, the recipe can be doubled or tripled as needed. Just keep an eye on the baking time, as larger cheesecakes will take longer to cook through.
Conclusion
Strawberry Crunch Cheesecake Cones are a delightful dessert that combines the best of cheesecake, strawberries, and crunchy texture in a fun and portable package. With their ease of preparation, impressive presentation, and adaptable flavor profile, they’re perfect for any occasion. Don’t be afraid to experiment with different flavors and toppings to make this recipe your own, and enjoy the joy of creating something special for yourself and those you love.