Strawberry Crunch Poke Cake
Introduction
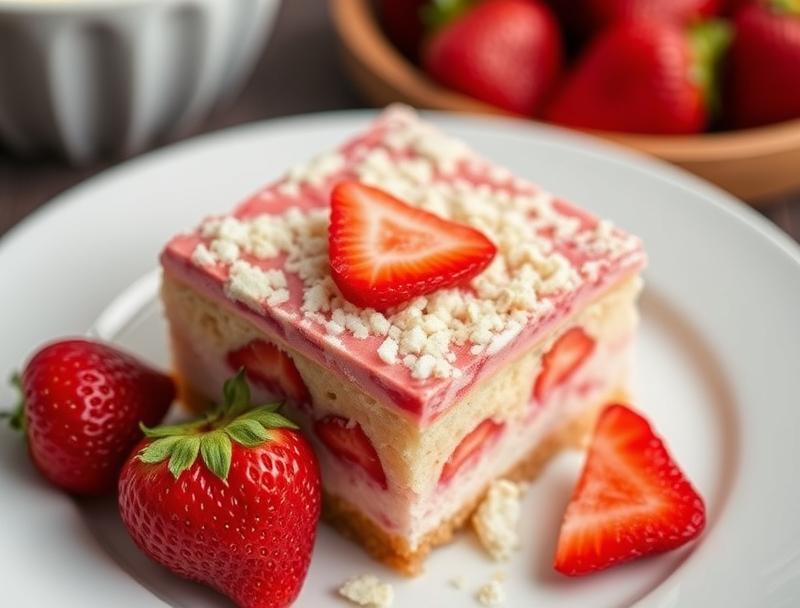
Imagine a cake that’s as delicious as it is visually stunning, with a combination of moist vanilla cake, sweet strawberry filling, and a crunchy topping that adds a satisfying texture to each bite. The Strawberry Crunch Poke Cake is a masterpiece of simplicity and flavor, using everyday ingredients to create a dessert that’s perfect for any occasion. Whether you’re a seasoned baker or just starting out, this recipe is sure to impress with its ease of preparation and impressive results. The best part? It’s incredibly easy to make and requires minimal effort, making it a great choice for busy home cooks who want to create something special without spending hours in the kitchen.
Why This Works
- The balance of flavors in this cake is perfectly balanced, with the sweetness of the strawberries and the crunch of the topping complementing the moistness of the cake.
- The ingredients used in this recipe are easily accessible and likely already stocked in your pantry, making it a convenient choice for last-minute baking.
Ingredients
- 1 1/2 cups all-purpose flour
- 1 cup granulated sugar
- 2 teaspoons baking powder
- 1/2 teaspoon salt
- 1/2 cup unsalted butter, softened
- 1 cup whole milk
- 2 large eggs
- 2 teaspoons pure vanilla extract
- 1 cup strawberry filling
- 1 cup crushed cookies or wafers for the crunch topping
- Whipped cream or powdered sugar for garnish
Instructions
- Step 1: Preheat your oven to 350°F (180°C) and grease a 9×13-inch baking dish. In a medium bowl, whisk together the flour, sugar, baking powder, and salt.
- Step 2: In a large bowl, using an electric mixer, beat the butter until creamy. Add the dry ingredients to the butter mixture alternately with the milk, beginning and ending with the dry ingredients. Beat in the eggs one at a time, then stir in the vanilla extract.
- Step 3: Pour the batter into the prepared baking dish and smooth the top. Bake for 25-30 minutes or until a toothpick inserted into the center comes out clean. Remove from the oven and let cool for 10 minutes.
- Step 4: Use a skewer or fork to poke holes all over the top of the cake. Pour the strawberry filling over the top of the cake, making sure to fill the holes. Sprinkle the crushed cookies or wafers over the top of the filling. Refrigerate the cake for at least 30 minutes to allow the flavors to meld together.
Handy Tips
- Make sure to not overmix the batter, as this can result in a dense cake.
- Use a high-quality strawberry filling for the best flavor.
- Experiment with different types of cookies or wafers for the crunch topping to find your favorite combination.
Heat Control
When baking the cake, make sure to keep an eye on it to avoid overcooking. The cake is done when a toothpick inserted into the center comes out clean and the top is lightly golden brown. If you’re unsure, it’s always better to err on the side of caution and check the cake frequently to avoid overcooking.
Crunch Factor
The crunch topping is a key component of this cake, providing a satisfying texture contrast to the moist cake and sweet filling. To achieve the perfect crunch, make sure to use a variety of cookies or wafers that are fresh and crunchy. You can also experiment with different types of nuts or seeds for added texture and flavor.
Pro Kitchen Tricks
- Use a cake tester or skewer to check the cake for doneness, rather than relying on the toothpick method.
- Let the cake cool completely in the pan before refrigerating it, as this will help the filling to set and the cake to retain its moisture.
- Experiment with different flavors of extract, such as almond or coconut, to add an extra layer of flavor to the cake.
Storage Tips
- Store the cake in an airtight container in the refrigerator for up to 3 days.
- Let the cake come to room temperature before serving, as this will help the flavors to meld together and the cake to retain its moisture.
- Consider freezing the cake for up to 2 months, wrapped tightly in plastic wrap or aluminum foil. Thaw at room temperature or in the refrigerator before serving.
Gift Packaging Ideas
This cake is perfect for gifting to friends and family, and can be packaged in a variety of ways to make it extra special. Consider wrapping the cake in decorative paper or plastic wrap, and topping it with a bow or gift tag. You could also package the cake in a decorative tin or container, or create a gift basket filled with the cake and other sweet treats.
Flavor Variations
- Try using different flavors of extract, such as lemon or orange, to add an extra layer of flavor to the cake.
- Experiment with different types of filling, such as raspberry or blueberry, for a unique twist on the classic strawberry flavor.
- Add some chopped nuts or seeds to the batter for added texture and flavor.
Troubleshooting
- If the cake is too dense, try adding a little more milk to the batter or using a higher-quality flour.
- If the filling is too runny, try refrigerating it for a few minutes to allow it to set before pouring it over the cake.
- If the crunch topping is too crunchy, try using a smaller amount or crushing the cookies or wafers into finer crumbs.
FAQs
- Can I freeze the cake? Yes, the cake can be frozen for up to 2 months, wrapped tightly in plastic wrap or aluminum foil. Thaw at room temperature or in the refrigerator before serving.
- Is the cake gluten-free? No, the cake contains wheat flour and is not gluten-free. However, you can try substituting the flour with a gluten-free alternative to make the cake gluten-free.
- Can I double the recipe? Yes, the recipe can be doubled to make a larger cake. Just be sure to adjust the baking time accordingly and keep an eye on the cake to avoid overcooking.
Conclusion
The Strawberry Crunch Poke Cake is a delicious and impressive dessert that’s perfect for any occasion. With its moist vanilla cake, sweet strawberry filling, and crunchy topping, this cake is sure to be a hit with friends and family. Whether you’re a seasoned baker or just starting out, this recipe is easy to follow and requires minimal effort, making it a great choice for busy home cooks. So why not give it a try and see what you think? With a little practice and patience, you’ll be creating beautiful and delicious cakes like a pro in no time.