Homemade Pineapple Heaven Cake Recipe
Introduction
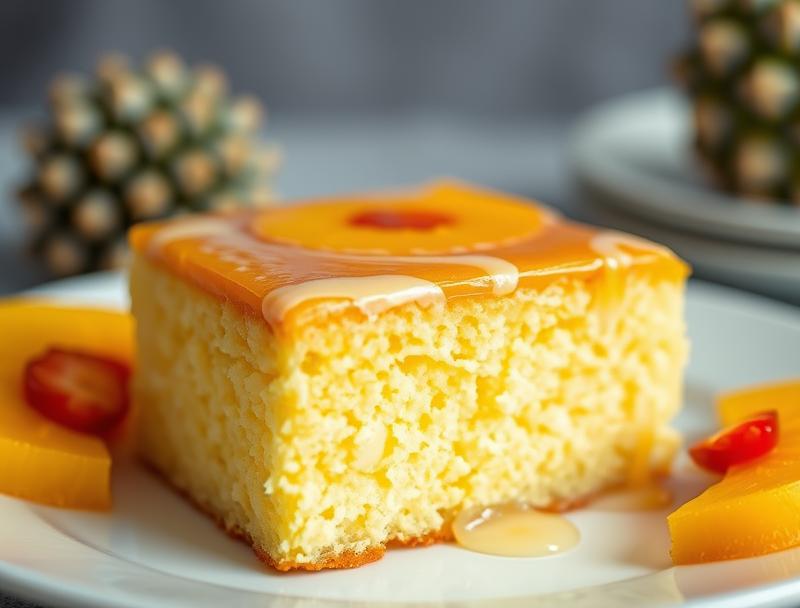
Imagine a cake that transports you to a tropical paradise with every bite, a cake so divine it’s like a slice of heaven. Welcome to the Homemade Pineapple Heaven Cake Recipe, where the sweetness of pineapple, the richness of cream, and the warmth of spices come together in perfect harmony. This cake is not just a dessert; it’s an experience that will leave you and your loved ones craving for more. The best part? It’s incredibly easy to make, requiring minimal effort for a result that’s nothing short of impressive. With everyday ingredients and a bit of creativity, you can turn your kitchen into a bakery, producing a masterpiece that’s both a feast for the eyes and a delight for the taste buds.
Why This Works
- Flavor balance and ingredient accessibility: The combination of pineapple, vanilla, and a hint of spice creates a flavor profile that’s both unique and universally appealing. Plus, all the ingredients are easily found in your local grocery store.
- Ease of preparation: Despite its heavenly taste, this cake is surprisingly simple to prepare. The steps are straightforward, and the ingredients are readily available, making it perfect for both beginners and seasoned bakers.
- Impressive results with minimal effort: The layering of the cake, the frosting, and the decoration with pineapple rings and cherries make for a presentation that’s as stunning as it is delicious, all achievable with minimal fuss.
Ingredients
- 2 cups all-purpose flour
- 1 cup granulated sugar
- 2 teaspoons baking powder
- 1/2 teaspoon salt
- 1/2 cup unsalted butter, softened
- 1 cup whole milk
- 2 large eggs
- 1 teaspoon pure vanilla extract
- 1 cup crushed pineapple, drained
- 1 cup whipped cream for frosting
- Pineapple rings and cherries for decoration
Instructions
- Step 1: Preparation – Preheat your oven to 350°F (180°C). Grease two 9-inch round cake pans and line the bottoms with parchment paper.
- Step 2: Mixing the Batter – In a medium bowl, whisk together flour, sugar, baking powder, and salt. In a large bowl, using an electric mixer, beat the butter until creamy. Add the dry ingredients to the butter alternately with milk, beginning and ending with dry ingredients. Beat in the eggs one at a time, then stir in vanilla extract and crushed pineapple.
- Step 3: Baking the Cake – Divide the batter evenly between the prepared pans and smooth the tops. Bake for about 30-35 minutes or until a toothpick inserted in the center comes out clean. Let the cakes cool in pans for 10 minutes before transferring them to a wire rack to cool completely.
- Step 4: Assembling and Decorating – Once the cakes are completely cool, place one layer on a serving plate and spread a layer of whipped cream on top. Place the second layer on top and frost the entire cake with the remaining whipped cream. Decorate with pineapple rings and cherries.
Handy Tips
- For a moist cake, don’t overmix the batter, and make sure to not overbake.
- If you’re not using the cake immediately, you can store it in the fridge for up to 3 days. Let it come to room temperature before serving.
- Consider using fresh pineapple for the best flavor, but canned works well too in a pinch.
Heat Control
The ideal temperature for baking this cake is 350°F (180°C). The cake is done when it’s golden brown, springs back when touched, and a toothpick inserted into the center comes out clean. Avoid overbaking, as it can dry out the cake.
Crunch Factor
This cake is designed to be moist and tender. To achieve this, ensure you don’t overbake, and consider adding some chopped nuts to the batter for an added crunch if desired.
Pro Kitchen Tricks
- For an extra moist cake, try adding an extra egg yolk to the batter.
- Use buttermilk instead of regular milk for a tangier flavor.
- Don’t open the oven door during the baking time to ensure the cake rises evenly.
Storage Tips
- Store the cake in an airtight container in the refrigerator for up to 3 days.
- Let the cake come to room temperature before serving for the best flavor and texture.
- Freezing is not recommended for this cake, as the whipped cream frosting won’t hold up well.
Gift Packaging Ideas
This cake makes a wonderful gift for friends and family. Consider decorating the cake with a personal message or the recipient’s name. Wrap the cake in plastic wrap or aluminum foil and place it in a decorative cake box or tin. Add some fresh flowers or a ribbon around the box for a beautiful presentation.
Flavor Variations
- Add a teaspoon of coconut extract to the batter for a coconut pineapple flavor.
- Use different types of milk, like almond or soy milk, for a non-dairy version.
- Replace the pineapple with another fruit, like peaches or strawberries, for a different twist.
Troubleshooting
- If the cake is too dry, it might be overbaked. Check your oven temperature and baking time.
- If the frosting is too runny, refrigerate it for about 10 minutes to firm up before using.
- If you notice the cake sinking in the middle, it could be due to incorrect oven temperature or opening the oven door too often during baking.
FAQs
- Can I freeze it? – It’s not recommended to freeze this cake, especially with the whipped cream frosting. However, you can freeze the cake layers without frosting for up to 2 months.
- Is it gluten-free? – No, this recipe uses all-purpose flour and is not gluten-free. However, you can experiment with gluten-free flours for a gluten-free version.
- Can I double the recipe? – Yes, you can double the recipe to make a larger cake. Just ensure you have enough pans and adjust the baking time accordingly.
Conclusion
Making the Homemade Pineapple Heaven Cake is a journey that’s as rewarding as it is delicious. With its unique flavor combination, ease of preparation, and stunning presentation, it’s perfect for any occasion, whether it’s a birthday, a wedding, or just a Tuesday. Don’t be afraid to experiment and make it your own, and most importantly, enjoy the process and the joy of sharing something homemade with love.