Moist Pineapple Bread
Introduction
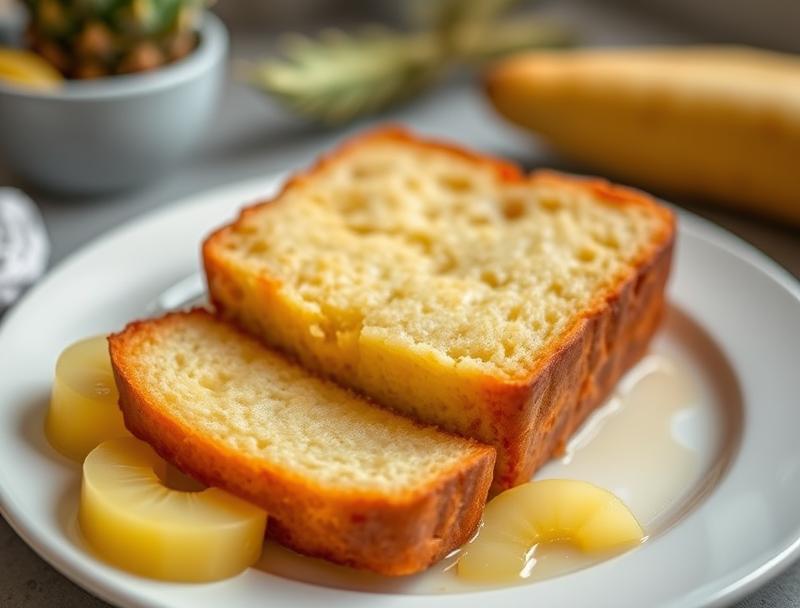
Imagine sinking your teeth into a slice of warm, moist pineapple bread, fresh from the oven, with the sweetness of pineapple and the comfort of a homemade loaf. This recipe is a masterclass in ease, flavor, and creativity, using everyday ingredients to create a truly special treat. With its perfect balance of sweetness and tanginess, this bread is perfect for breakfast, a snack, or even as a side dish for your favorite meals. The best part? It’s incredibly easy to make, requiring minimal effort for a loaf that’s sure to impress friends and family alike.
Why This Works
- The combination of pineapple, brown sugar, and spices creates a flavor balance that’s both familiar and exciting, making each bite a delight.
- The ingredients are easily accessible and likely already stocked in your pantry, making this recipe a convenient choice for any time you crave something homemade and delicious.
- The preparation is straightforward, and the results are consistently impressive, with a moist and flavorful loaf that’s perfect for any occasion.
Ingredients
- 1 cup unsalted butter, softened
- 1 3/4 cups granulated sugar
- 4 large eggs, at room temperature
- 2 cups all-purpose flour
- 1 teaspoon baking powder
- 1/2 teaspoon salt
- 1 cup crushed pineapple, drained
- 1 teaspoon vanilla extract
- 1/2 cup chopped walnuts (optional)
Instructions
- Step 1: Preheat your oven to 350°F (180°C). Grease two 9×5-inch loaf pans and set them aside. In a large mixing bowl, cream the butter and sugar until light and fluffy, about 3 minutes.
- Step 2: Beat in the eggs one at a time, allowing each egg to fully incorporate before adding the next. Then, mix in the flour, baking powder, and salt until just combined, being careful not to overmix.
- Step 3: Stir in the crushed pineapple, vanilla extract, and chopped walnuts (if using). The batter should be smooth and evenly mixed.
- Step 4: Divide the batter evenly between the prepared loaf pans and smooth the tops. Bake for 55-60 minutes, or until a toothpick inserted into the center of each loaf comes out clean. Let the loaves cool in the pans for 10 minutes before transferring them to a wire rack to cool completely.
Handy Tips
- Make sure to not overmix the batter, as this can lead to a dense loaf. Stop mixing as soon as the ingredients are combined.
- If using walnuts, toast them in a 350°F oven for 5-7 minutes, or until fragrant, to enhance their flavor and texture.
- Don’t overbake. The loaves are done when they’re golden brown and a toothpick inserted into the center comes out clean. Overbaking can make the bread dry.
Heat Control
The ideal temperature for baking the pineapple bread is 350°F (180°C). It’s crucial to maintain this temperature to ensure the bread bakes evenly and doesn’t burn on the outside before it’s fully cooked on the inside. The baking time is approximately 55-60 minutes, but this can vary depending on your oven. Keep an eye on the loaves after 50 minutes, and check them every 5 minutes thereafter until they’re done.
Crunch Factor
This moist pineapple bread is designed to be soft and fluffy on the inside with a lightly crisped crust. The addition of chopped walnuts provides a pleasing crunch and texture contrast. To achieve the perfect crunch, make sure the loaves are fully cooled on a wire rack. Slicing the bread when it’s completely cool will also help maintain its texture.
Pro Kitchen Tricks
- Use room temperature ingredients for better mixing and a lighter texture.
- Don’t open the oven door during the baking time, as this can cause the loaves to sink or not bake evenly.
- For an extra golden crust, brush the tops of the loaves with a little bit of melted butter about 10 minutes before they’re done baking.
Storage Tips
- Once the bread is completely cool, it can be stored at room temperature in an airtight container for up to 3 days.
- For longer storage, wrap the cooled loaves tightly in plastic wrap or aluminum foil and freeze for up to 2 months. Thaw frozen bread at room temperature or reheat it in the oven or microwave.
- Reheating tips: Wrap the bread in foil and heat in a 300°F oven for about 10-15 minutes, or until warmed through. You can also microwave a slice for 20-30 seconds to warm it up quickly.
Gift Packaging Ideas
This moist pineapple bread makes a wonderful gift for friends, family, or neighbors. Consider wrapping a cooled loaf in decorative paper or a tea towel and tying it with a ribbon. You could also include a packet of coffee or tea and a few slices of butter or jam for a complete gift. For a more rustic look, place the loaf in a wicker basket lined with a checkered cloth.
Flavor Variations
- Try adding different spices like cinnamon, nutmeg, or cardamom to the batter for unique flavor profiles.
- Use other types of nuts like pecans or hazelnuts instead of walnuts for a different texture and flavor.
- Swap the granulated sugar with brown sugar or honey for a deeper, richer flavor.
Troubleshooting
- If your bread turns out too dense, it might be due to overmixing the batter. Try mixing the ingredients just until they come together for a lighter texture.
- If the bread doesn’t bake evenly, check your oven temperature and ensure you’re using the correct size of loaf pans.
- For a bread that’s too dry, check if you overbaked it. Try reducing the baking time in your next attempt.
FAQs
- Can I freeze it? Yes, you can freeze the bread for up to 2 months. Wrap the cooled loaves tightly in plastic wrap or aluminum foil before freezing.
- Is it gluten-free? No, this recipe uses all-purpose flour and is not gluten-free. However, you can experiment with gluten-free flours as a substitute, though the texture and flavor may vary.
- Can I double the recipe? Yes, you can double the recipe to make more loaves. Just ensure you have enough loaf pans and adjust the baking time slightly, as more loaves may take a bit longer to bake through.
Conclusion
This moist pineapple bread recipe is a versatile and delicious addition to any meal or snack. With its easy preparation, impressive results, and the joy of sharing homemade goodies, it’s a recipe you’ll return to time and again. Feel free to experiment with the ingredients and flavor variations to make it your own, and don’t hesitate to share your creations with friends and family. Happy baking!