Southern-Style Honey Butter Cornbread Poppers
Introduction
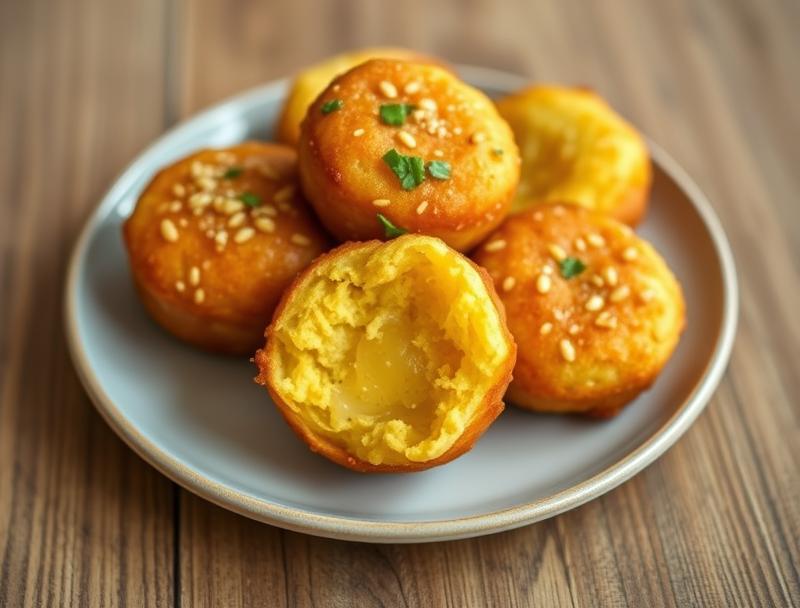
Imagine a dish that embodies the warmth and hospitality of the South, where every bite is a testament to the region’s love for rich flavors and comforting textures. Southern-Style Honey Butter Cornbread Poppers are the epitome of this culinary tradition, combining the sweetness of honey, the richness of butter, and the crumbly goodness of cornbread into bite-sized poppers that are as easy to make as they are irresistible. Using everyday ingredients and requiring minimal effort, these poppers are perfect for family gatherings, picnics, or as a side dish for your favorite barbecue. The best part? They’re incredibly versatile, allowing you to get creative with flavors and ingredients while still maintaining the essence of traditional Southern cuisine.
Why This Works
- Flavor balance and ingredient accessibility: The combination of honey, butter, and cornmeal provides a perfect balance of sweet and savory, while using common ingredients that are easily found in most kitchens.
- Ease of preparation: With a simple mixing process and quick baking time, these poppers are ready in no time, making them a great option for last-minute entertaining or weeknight meals.
- Impressive results with minimal effort: Despite their simplicity, the presentation and taste of these poppers are sure to impress, whether you’re serving them at a casual dinner or a more formal event.
Ingredients
- 1 cup all-purpose cornmeal
- 1/2 cup all-purpose flour
- 1 teaspoon salt
- 1/2 teaspoon baking soda
- 1/2 teaspoon baking powder
- 1 cup buttermilk
- 2 large eggs
- 2 tablespoons honey
- 4 tablespoons unsalted butter, melted
- 1 teaspoon vanilla extract
- Honey butter for serving (see note)
Instructions
- Step 1: Preheat your oven to 400°F (200°C). Line a baking sheet with parchment paper or a silicone mat.
- Step 2: In a large bowl, whisk together the cornmeal, flour, salt, baking soda, and baking powder. In a separate bowl, whisk together the buttermilk, eggs, honey, melted butter, and vanilla extract. Add the wet ingredients to the dry ingredients and stir until just combined. The batter should still be slightly lumpy.
- Step 3: Using a cookie scoop or spoon, drop the batter onto the prepared baking sheet, making sure to leave about 2 inches of space between each popper. You should end up with around 12-15 poppers.
- Step 4: Bake the poppers for 12-15 minutes, or until they’re lightly golden brown on the bottom and firm to the touch. Remove them from the oven and let them cool on the baking sheet for a few minutes before transferring them to a wire rack to cool completely.
Handy Tips
- For an extra crispy exterior, try chilling the batter in the refrigerator for 30 minutes before baking. This will help the poppers retain their shape and bake up with a nicer texture.
- If you don’t have buttermilk, you can make a substitute by mixing 1 cup of milk with 1 tablespoon of white vinegar or lemon juice. Let it sit for 5-10 minutes before using.
- Don’t overmix the batter, as this can lead to dense poppers. Stop stirring as soon as the ingredients come together in a shaggy mass.
Heat Control
When baking the poppers, it’s essential to keep an eye on them to ensure they don’t overcook. The ideal temperature is 400°F (200°C), and you’re looking for a baking time of 12-15 minutes. The poppers are done when they’re lightly golden brown on the bottom and firm to the touch. If you prefer a crisper exterior, you can broil them for an additional 1-2 minutes, watching carefully to avoid burning.
Crunch Factor
The crunch factor in these poppers comes from the cornmeal and the baking process. To achieve the perfect crunch, make sure not to overmix the batter, and don’t overbake the poppers. A light golden brown color and a firm texture are your indicators of doneness. If you want an extra crunchy exterior, you can try dusting the poppers with a little extra cornmeal before baking.
Pro Kitchen Tricks
- To ensure the poppers bake evenly, try rotating the baking sheet halfway through the baking time.
- For a fun twist, you can add different mix-ins to the batter, such as diced jalapeños, shredded cheese, or chopped scallions.
- If you’re making the poppers ahead of time, you can store them in an airtight container at room temperature for up to 24 hours. Simply reheat them in the oven or microwave before serving.
Storage Tips
- Leftover poppers can be stored in an airtight container at room temperature for up to 24 hours.
- To freeze, place the cooled poppers in a single layer on a baking sheet, then transfer them to a freezer-safe bag or container for up to 2 months. Reheat frozen poppers in the oven or microwave until warmed through.
- The best containers for storing the poppers are airtight containers or zip-top bags, which will keep them fresh and prevent moisture from getting in.
Gift Packaging Ideas
If you’re looking to give these poppers as a gift, consider packaging them in a decorative tin or jar, wrapped in a ribbon or twine. You could also include a small jar of honey butter for serving, along with a few fresh herbs or a sprinkle of sea salt. For a more rustic look, try placing the poppers in a paper bag or a small wooden crate, tied with a piece of twine or a gift tag.
Flavor Variations
- Different spices: Try adding a pinch of cayenne pepper or red pepper flakes for a spicy kick, or a sprinkle of smoked paprika for a smoky flavor.
- Creative toppings: Top the poppers with a pat of honey butter, a sprinkle of shredded cheese, or a few slices of crispy bacon.
- Ingredient swaps: Substitute the all-purpose flour with whole wheat flour for a nuttier flavor, or use Greek yogurt instead of buttermilk for a tangier taste.
Troubleshooting
- Texture problems: If the poppers are too dense, it may be due to overmixing the batter. Try mixing the ingredients just until they come together, then stopping.
- Ingredient replacements: If you don’t have buttermilk, you can make a substitute by mixing 1 cup of milk with 1 tablespoon of white vinegar or lemon juice.
- Over/undercooking signs: Keep an eye on the poppers while they’re baking, and remove them from the oven when they’re lightly golden brown on the bottom and firm to the touch.
FAQs
- Can I freeze it? Yes, you can freeze the poppers for up to 2 months. Simply place them in a single layer on a baking sheet, then transfer them to a freezer-safe bag or container.
- Is it gluten-free? No, this recipe contains all-purpose flour, which contains gluten. However, you can try substituting the flour with a gluten-free flour blend for a gluten-free version.
- Can I double the recipe? Yes, you can easily double or triple the recipe to make more poppers. Just be sure to adjust the baking time accordingly, as the poppers may take a few minutes longer to bake.
Conclusion
Southern-Style Honey Butter Cornbread Poppers are a delicious and easy-to-make treat that’s perfect for any occasion. With their perfect balance of sweet and savory flavors, crunchy exterior, and soft interior, they’re sure to become a favorite in your household. Whether you’re serving them as a side dish, a snack, or a gift, these poppers are sure to impress. So go ahead, get creative with the ingredients and flavors, and enjoy the warm, comforting taste of the South in every bite.