Sopapilla Cheesecake
Introduction
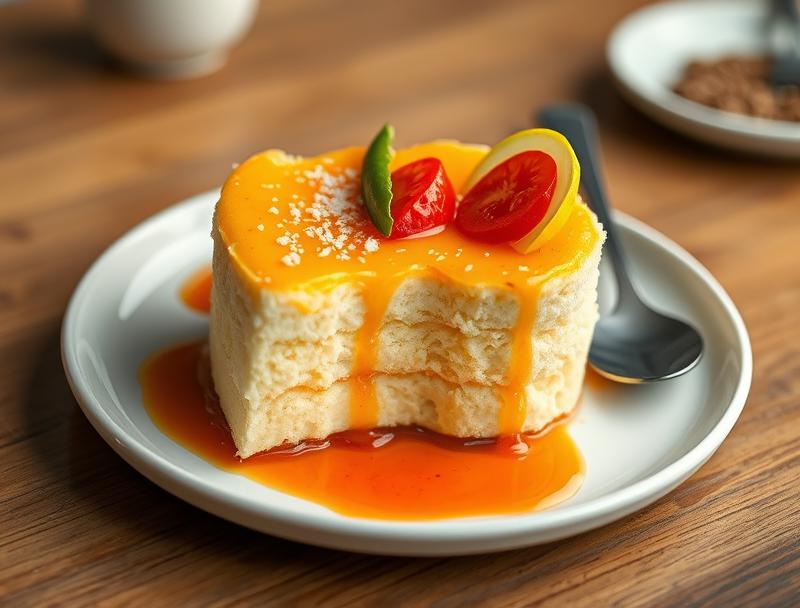
Imagine a dessert that combines the crispy, sugary goodness of sopapillas with the creamy richness of cheesecake. Sounds like a dream, right? Well, we’re here to make that dream a reality with our Sopapilla Cheesecake recipe. This innovative dessert is not only easy to make but also packed with flavor, using everyday ingredients that you might already have in your pantry. The best part? It’s incredibly versatile, allowing you to get creative with toppings and mix-ins to make it your own. Whether you’re a fan of traditional sopapillas or a cheesecake aficionado, this Sopapilla Cheesecake is sure to impress.
Why This Works
- Flavor balance and ingredient accessibility: The combination of the crispy sopapillas and the creamy cheesecake filling creates a perfect balance of flavors and textures, and the ingredients are easily accessible at your local grocery store.
- Ease of preparation: This dessert is surprisingly easy to make, requiring minimal preparation and cooking time. The sopapilla crust can be made ahead of time, and the cheesecake filling is a simple mixture of cream cheese, sugar, and eggs.
- Impressive results with minimal effort: Despite its simplicity, this Sopapilla Cheesecake is sure to impress your friends and family with its unique flavor combination and beautiful presentation.
Ingredients
- 1 1/2 cups graham cracker crumbs (for the sopapilla crust)
- 1/4 cup granulated sugar
- 1/2 cup unsalted butter, melted
- 2 pounds cream cheese, softened
- 3 large eggs
- 1/2 cup granulated sugar
- 1 teaspoon vanilla extract
- 1 cup sour cream
- Cinnamon sugar for dusting (optional)
Instructions
- Step 1: Preheat your oven to 350°F (180°C). In a medium bowl, mix together the graham cracker crumbs, sugar, and melted butter until well combined. Press the mixture into the bottom of a 9-inch springform pan.
- Step 2: Bake the crust for 10-12 minutes, or until lightly browned. Allow the crust to cool completely.
- Step 3: In a large mixing bowl, beat the cream cheese until smooth. Add the eggs one at a time, beating well after each addition. Beat in the sugar and vanilla extract.
- Step 4: Stir in the sour cream until well combined. Pour the cheesecake batter into the cooled sopapilla crust.
- Step 5: Bake the cheesecake for 50-60 minutes, or until the edges are set and the center is slightly jiggly. Allow the cheesecake to cool completely in the pan.
- Step 6: Once the cheesecake has cooled, dust it with cinnamon sugar (if desired) and serve. You can also top it with your favorite fruits, nuts, or caramel sauce.
Handy Tips
- To ensure a crispy sopapilla crust, make sure to bake it until lightly browned and allow it to cool completely before filling.
- Don’t overmix the cheesecake batter, as this can cause it to crack or become tough.
- If you want a more golden-brown crust, you can brush it with a little bit of egg wash (beaten egg mixed with a splash of water) before baking.
Heat Control
To achieve the perfect sopapilla crust, it’s essential to control the heat. Bake the crust at 350°F (180°C) for 10-12 minutes, or until lightly browned. Keep an eye on it to prevent overcooking. For the cheesecake, bake it at the same temperature for 50-60 minutes, or until the edges are set and the center is slightly jiggly.
Crunch Factor
The crunch factor in this Sopapilla Cheesecake comes from the crispy sopapilla crust. To achieve this, make sure to bake the crust until lightly browned and allow it to cool completely before filling. You can also add some crunchy toppings like nuts or caramelized sugar to give it an extra texture.
Pro Kitchen Tricks
- To prevent the cheesecake from cracking, make sure to cool it slowly and evenly. You can do this by turning off the oven and letting it cool in the oven with the door ajar.
- Use a water bath to bake the cheesecake, as this will help to prevent cracking and ensure a smooth, even texture.
- If you’re having trouble getting the sopapilla crust to crisp up, try baking it for a few minutes longer or broiling it for a minute or two to give it a golden-brown color.
Storage Tips
- Store the Sopapilla Cheesecake in the refrigerator for up to 5 days. Allow it to come to room temperature before serving.
- Freeze the cheesecake for up to 2 months. Thaw it overnight in the refrigerator before serving.
- When storing the cheesecake, make sure to wrap it tightly in plastic wrap or aluminum foil to prevent it from drying out.
Gift Packaging Ideas
This Sopapilla Cheesecake is a perfect dessert to give as a gift, especially during the holidays. You can package it in a beautiful tin or a decorative box, and add some festive toppings like holly sprigs or red berries. You can also add a personalized note or a gift card to make it an extra-special gift.
Flavor Variations
- Try adding some cinnamon or nutmeg to the sopapilla crust for an extra boost of flavor.
- Add some diced fruit like strawberries or blueberries to the cheesecake batter for a sweet and tangy flavor combination.
- Use different types of sugar like brown sugar or turbinado sugar to give the cheesecake a unique flavor and texture.
Troubleshooting
- If the sopapilla crust is too crispy, try baking it for a few minutes less or brushing it with a little bit of egg wash before baking.
- If the cheesecake is too dense, try adding a little bit more sour cream or beating the eggs for a longer time.
- If the cheesecake is cracking, try cooling it slowly and evenly, or using a water bath to bake it.
FAQs
- Can I freeze it? Yes, you can freeze the Sopapilla Cheesecake for up to 2 months. Thaw it overnight in the refrigerator before serving.
- Is it gluten-free? No, the sopapilla crust contains gluten, but you can try making a gluten-free version using gluten-free flours.
- Can I double the recipe? Yes, you can double the recipe, but make sure to adjust the baking time accordingly.
Conclusion
This Sopapilla Cheesecake is a unique and delicious dessert that combines the best of both worlds. With its crispy sopapilla crust and creamy cheesecake filling, it’s sure to impress your friends and family. Don’t be afraid to get creative with toppings and mix-ins, and experiment with different flavor combinations to make it your own. Happy baking!