Most Amazing Classic Chocolate Cake
Introduction
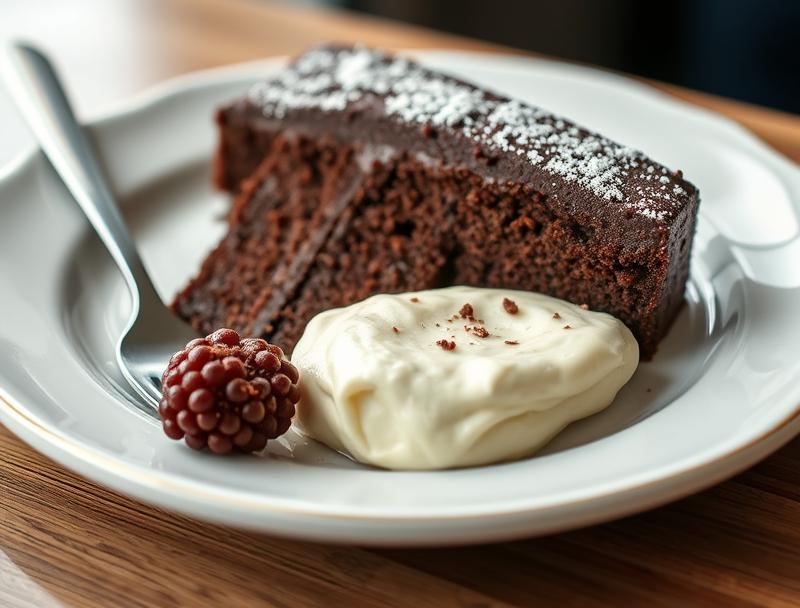
Welcome to the world of decadent desserts with the Most Amazing Classic Chocolate Cake recipe! This mouthwatering treat is not only a delight to the taste buds but also surprisingly easy to make, requiring just everyday ingredients that you might already have in your pantry. The beauty of this cake lies in its perfect balance of flavors and textures, making it a crowd-pleaser for any occasion. Whether you’re a seasoned baker or a beginner in the kitchen, this recipe is designed to guide you through the process with simplicity and clarity, ensuring that your first bite is nothing short of amazing.
Why This Works
- Flavor balance and ingredient accessibility: The combination of rich cocoa powder, sweet sugar, and the depth of vanilla ensures a well-rounded taste experience. Plus, all the ingredients are easily found in most supermarkets, making this cake accessible to everyone.
- Ease of preparation: Despite its impressive outcome, the cake is relatively simple to prepare. The steps are straightforward, and the ingredients are mixed in a way that minimizes complexity, making it perfect for bakers of all skill levels.
- Impressive results with minimal effort: The end result is a moist, velvety chocolate cake that looks and tastes like it was made by a professional. The effort-to-impressiveness ratio is incredibly high, making it an ideal choice for special occasions or everyday treats.
Ingredients
- 2 ¾ cups all-purpose flour
- 1 ½ cups granulated sugar
- 2 ½ teaspoons baking powder
- 1 teaspoon salt
- 1 cup unsweetened cocoa powder
- 1 cup whole milk, at room temperature
- 2 large eggs, at room temperature
- 1 teaspoon pure vanilla extract
- 1 cup semi-sweet chocolate chips
- Optional: chopped nuts or chocolate shavings for garnish
Instructions
- Step 1: Preheat and Prep – Preheat your oven to 350°F (180°C). Grease two 9-inch round cake pans and line the bottoms with parchment paper. In a medium bowl, whisk together flour, sugar, baking powder, and salt. Set aside.
- Step 2: Mix the Batter – In a large mixing bowl, combine cocoa powder and milk. Stir until smooth, then add the eggs one at a time, whisking well after each addition. Whisk in the vanilla extract. Gradually add the dry ingredients to the chocolate mixture, whisking until just combined.
- Step 3: Add the Chocolate Chips – Melt the chocolate chips in a double boiler or in the microwave in 30-second increments, stirring between each interval until smooth. Allow the chocolate to cool slightly, then fold it into the cake batter until well combined.
- Step 4: Bake the Cakes – Divide the batter evenly between the prepared pans and smooth the tops. Bake for 30-35 minutes or until a toothpick inserted in the center comes out clean. Let the cakes cool in the pans for 10 minutes, then transfer them to a wire rack to cool completely.
- Step 5: Assemble and Enjoy – Once the cakes are completely cool, you can frost them with your favorite chocolate frosting and decorate as desired. Slice and serve to enjoy the fruits of your labor!
Handy Tips
- For an extra moist cake, try adding an extra tablespoon or two of milk or substituting some of the milk with sour cream or Greek yogurt.
- Don’t overmix the batter, as this can lead to a dense cake. Stop mixing as soon as the ingredients are combined.
- Experiment with different types of chocolate for the chocolate chips and frosting to find your favorite flavor combination.
Heat Control
To ensure your cakes bake perfectly, keep an eye on the temperature and baking time. The ideal internal temperature for fully baked cake is 190°F to 200°F. Also, make sure to not overbake, as this can dry out the cake. A toothpick inserted into the center should come out clean or with a few moist crumbs attached.
Crunch Factor
This cake is designed to be moist and velvety, with a tender crumb. To maintain this texture, avoid overbaking and make sure to not overmix the batter. If you prefer a bit of crunch, consider adding chopped nuts to the batter before baking.
Pro Kitchen Tricks
- To ensure the cakes release easily from the pans, make sure to grease the pans properly and line the bottoms with parchment paper.
- For a professional finish, use a turntable to display your cake, and consider investing in a cake stand to elevate it.
- Keep your cakes fresh by storing them in an airtight container at room temperature for up to 3 days or by freezing them for up to 2 months.
Storage Tips
- Leftover cake can be stored in an airtight container at room temperature for up to 3 days.
- For longer storage, wrap the cake tightly in plastic wrap or aluminum foil and freeze for up to 2 months. Thaw at room temperature when ready to serve.
- Consider using a vacuum sealer for the best preservation of freshness and flavor.
Gift Packaging Ideas
If you’re gifting this cake, consider packaging it in a decorative cake box or wrapping it in colorful paper or fabric. You can also add a personal touch with a handwritten note or a sprinkle of edible decorations on top. For a more rustic look, use a wooden crate or a wicker basket lined with a checkered cloth.
Flavor Variations
- Different spices: Try adding a pinch of cinnamon, nutmeg, or cayenne pepper to the batter for a unique twist.
- Creative toppings: Experiment with various frostings, glazes, or toppings like nuts, chocolate shavings, or dried fruits.
- Ingredient swaps: Substitute some of the flour with oat flour for a nuttier flavor or use almond milk instead of regular milk for a dairy-free version.
Troubleshooting
- Texture problems: If your cake turns out too dense, it might be due to overmixing. If it’s too dry, it could be overbaked. Adjust your technique and baking time accordingly for the next batch.
- Ingredient replacements: If you’re missing an ingredient, look for substitutes. For example, you can use melted butter instead of oil or honey instead of sugar, though keep in mind this will affect the flavor.
- Over/undercooking signs: Keep an eye on your cake while it bakes. If the edges start to pull away from the pan and a toothpick comes out clean, it’s done. If it’s undercooked, the center will be wet and soggy.
FAQs
- Can I freeze it? Yes, you can freeze the cake for up to 2 months. Wrap it tightly in plastic wrap or aluminum foil and thaw at room temperature when ready to serve.
- Is it gluten-free? No, this recipe includes all-purpose flour and is not gluten-free. However, you can experiment with gluten-free flours as a substitute, though this may affect the texture and flavor.
- Can I double the recipe? Yes, you can easily double the recipe to make a larger cake or more cakes. Just remember to adjust the baking time accordingly if you’re making a larger cake.
Conclusion
With the Most Amazing Classic Chocolate Cake recipe, you’re not just baking a cake; you’re creating a memory. Whether it’s for a birthday, a holiday, or just a Tuesday, this cake is sure to bring joy and satisfaction to all who taste it. Don’t be afraid to experiment and make it your own, and remember, practice makes perfect, so don’t hesitate to try again and refine your technique. Happy baking, and let the chocolatey goodness begin!