Most Amazing Classic Chocolate Cake
Introduction
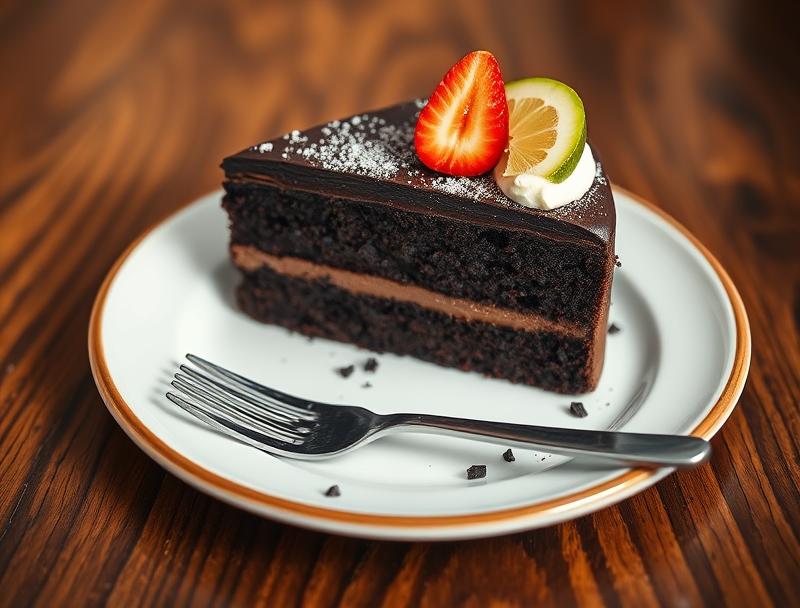
Welcome to the world of decadent chocolate delights with our Most Amazing Classic Chocolate Cake recipe! This indulgent treat is not only a crowd-pleaser but also surprisingly easy to make, requiring just everyday ingredients that you might already have in your pantry. The beauty of this classic recipe lies in its simplicity, allowing the deep, rich flavors of chocolate to shine through. Whether you’re a seasoned baker or just starting out, this cake is sure to impress with its moist texture and intense chocolate flavor. So, let’s dive into what makes this cake truly special and how you can make it your own.
Why This Works
- The balance of flavors in this cake is key, with the perfect blend of sweetness and bitterness from the chocolate, making it accessible and enjoyable for everyone.
- The ease of preparation is another significant advantage, as the method involves straightforward steps that are hard to mess up, even for a beginner.
- Despite the simplicity, the results are always impressive, with a moist and delicious cake that looks as good as it tastes, making it perfect for special occasions or everyday treats.
Ingredients
- 2 ¾ cups all-purpose flour
- 1 ½ cups granulated sugar
- 2 ½ teaspoons baking powder
- 1 teaspoon salt
- 1 cup unsweetened cocoa powder
- 1 cup whole milk, at room temperature
- 2 large eggs, at room temperature
- 1 teaspoon vanilla extract
- 1 cup semi-sweet chocolate chips
- Confectioners’ sugar, for dusting (optional)
Instructions
- Step 1: Preheat and Prep – Begin by preheating your oven to 350°F (175°C). Grease two 9-inch round cake pans and line the bottoms with parchment paper. In a medium bowl, whisk together flour, sugar, baking powder, and salt. Set aside.
- Step 2: Mix the Batter – In a large mixing bowl, combine cocoa powder and milk. Stir until smooth, then add the eggs one at a time, whisking well after each addition. Whisk in the vanilla extract. Gradually add the dry ingredients to the chocolate mixture, whisking until just combined. Melt the chocolate chips in a double boiler or in the microwave in 30-second increments, stirring between each interval until smooth. Allow the chocolate to cool slightly, then fold it into the cake batter until well combined.
- Step 3: Bake the Cakes – Divide the batter evenly between the prepared pans and smooth the tops. Bake for 30-35 minutes or until a toothpick inserted in the center comes out clean. Let the cakes cool in the pans for 10 minutes before transferring them to a wire rack to cool completely.
- Step 4: Assemble and Serve – Once the cakes are completely cool, you can dust them with confectioners’ sugar or frost with your favorite chocolate frosting. To assemble, place one cake layer on a serving plate and spread a layer of frosting on top. Place the second cake layer on top and frost the entire cake with the remaining frosting.
Handy Tips
- Ensure all your ingredients are at room temperature for the best results.
- Don’t overmix the batter, as this can result in a dense cake.
- For an extra moist cake, try adding an extra tablespoon or two of milk or substituting some of the milk with sour cream or Greek yogurt.
Heat Control
When baking, it’s crucial to maintain the right temperature. Ensure your oven is preheated to 350°F (175°C) and use an oven thermometer to verify the temperature, as oven temperatures can vary. The cakes are done when they are firm to the touch and a toothpick inserted into the center of each cake comes out clean. Avoid overbaking, as this can dry out the cake.
Crunch Factor
This cake is designed to be moist and tender. To maintain this texture, avoid overbaking and ensure you’re not overmixing the batter. If you prefer a crunchier exterior, you could try baking the cakes for an additional 2-3 minutes, but keep a close eye on them to prevent drying out.
Pro Kitchen Tricks
- For a more intense chocolate flavor, use high-quality cocoa powder and chocolate chips.
- To make the cake more visually appealing, top it with fresh fruits, nuts, or shaved chocolate.
- Consider investing in a turntable for your cake stand to make it easier to decorate and serve your masterpiece.
Storage Tips
- Store the cake at room temperature for up to 3 days. Wrap it tightly in plastic wrap or aluminum foil to keep it fresh.
- For longer storage, refrigerate the cake for up to 5 days. Bring it to room temperature before serving.
- The cake can also be frozen for up to 2 months. Wrap it tightly in plastic wrap and then in aluminum foil. Thaw at room temperature or refrigerate overnight before serving.
Gift Packaging Ideas
If you’re planning to gift this cake, consider presenting it on a decorative cake stand or plate, wrapped in cellophane or a large plastic bag tied with a ribbon. You could also package slices individually in cute containers or bags for a more personalized touch. Don’t forget to include a card with the ingredients used, especially if the recipient has any dietary restrictions.
Flavor Variations
- Try adding different extracts like mint, orange, or coffee to the batter for unique flavor twists.
- Experiment with various types of chocolate chips or chunks, like white chocolate, dark chocolate, or caramel-filled chocolate chips.
- For a boozy twist, soak raisins or cranberries in a liquor of your choice (like rum, bourbon, or Grand Marnier) and fold them into the batter.
Troubleshooting
- If your cake turns out too dense, it might be due to overmixing the batter or using old baking powder. Try to mix the ingredients just until they come together and ensure your baking powder is fresh.
- For cakes that are too dry, check your oven! Overbaking is a common mistake. Try reducing the baking time or covering the top of the cake with foil to prevent overcooking.
- If you notice your cake is sunken in the middle, it could be due to the cakes not being fully cooked or the oven temperature being off. Use a thermometer to check your oven’s temperature and ensure the cakes are fully cooked before removing them from the oven.
FAQs
- Can I freeze the cake? Yes, you can freeze the cake for up to 2 months. It’s best to freeze it without frosting and then frost it after thawing.
- Is this cake gluten-free? No, this recipe uses all-purpose flour and is not gluten-free. However, you can experiment with gluten-free flours, keeping in mind that the texture and taste might vary.
- Can I double the recipe? Yes, you can double the recipe to make a larger cake or more cakes. Just ensure you have enough pans and adjust the baking time as necessary.
Conclusion
Making the Most Amazing Classic Chocolate Cake is a journey of love and indulgence. With its rich, velvety chocolate flavor and moist texture, this cake is sure to become a favorite. Don’t be afraid to experiment with different flavors and toppings to make it your own. Whether you’re celebrating a special occasion or just need a sweet treat, this cake is the perfect choice. So go ahead, take a bite, and let the chocolatey goodness transport you to a world of pure bliss. Happy baking!